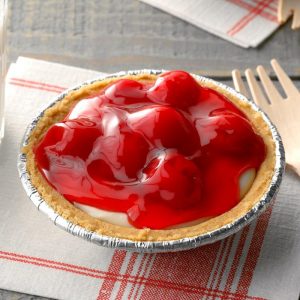
Cherry Tart with Cream Cheese Filling
Ingredients
For the crust.
- 11 tbsp (1 stick + 3tbsp) unsalted butter room temperature
- ⅓ cup confectioners’ sugar
- 1 ⅔ cup unbleached all-purpose flour
- ¾ tsp kosher salt
For the filling.
- 8 oz cream cheese, room temperature
- 1 lemon grate peel and juice
- ⅓ cup granulated sugar
- ⅔ cup heavy cream
For the topping.
- 1 21-oz can cherry pie filling
- 8 mint leaves
- 1 cup Whipped Cream
Instructions
- Preheat oven to 350 degrees F.
- Beat butter with confectioners' sugar on medium speed until pale and fluffy, about 3 minutes. Reduce speed to medium-low, add flour and 1/2 teaspoon salt. Mix until just combined and crumbly (don't over mix or it will become sticky).
- Press evenly onto the bottom and about an inch up the sides of a 9-inch tart pan with removable bottom, or use a 9-inch cake pan lined with parchment paper. Extend the parchment paper up and over the sides so you can lift the crust out when cool.
- Dock the bottom of the crust with a fork at 1-inch intervals. Freeze (if possible, or chill) for 15 minutes.
- Bake until golden brown and set, about 30 minutes. Let cool completely, then remove from pan, plate and cover with plastic wrap until needed. It will keep at room temperature for up the three days.
- Beat together softened cream cheese, 1 teaspoon lemon zest and 1 tablespoon juice. Add sugar and mix on medium-high until creamy. With mixer running, slowly add cream and beat until light and fluffy, 1-2 minutes. Spread the mixture evenly over the cooled crust and refrigerate 1-2 hours.
- Just before serving spread the cherry pie filling over the top of the cream cheese layer. Cut into eight servings and top with a dollop of whip cream and a mint leaf.
Notes
*You can use a sturdy wooden spoon and plenty of elbow grease if no electric mixer is available.
Tried this recipe?Let us know how it was!